Speed 400
Cloudster Project
I know that many of you are
seasoned modelers and build equally as well or better than I, so some of the
material I report on seems rudimentary and too tutorial for most you.
However, I had a response from a particular modeler indicating he was having
trouble cutting accurate notches in his wing ribs and wanted to know how I
do it. So I decided to make the answer to his question one of my Cloudster
reports.
We all have specific tools for specific jobs that
work best for each of us. Balsa can be a difficult wood to cut because it
tends to crush along the cut if the blade you are using isn't extremely
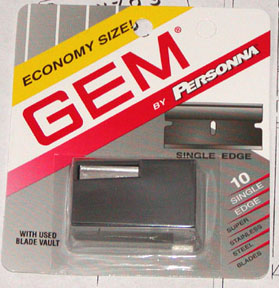
sharp. Throughout my many years of modeling I found that there is only one
brand single edge razor blade that has an exceptional edge sharpness that
approaches surgical steel. It is the "GEM" single edge razor blade by
Personna shown below. These blades are sometimes hard to find, but here in
North Texas Walgreen's drug stores do carry them and they are expensive
at $5.15 for package of 10 blades. However, I never use any razor blade but
the GEM when I am building models.
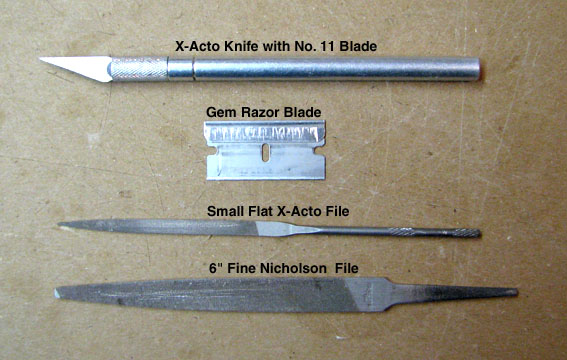
The collection of tools I use for cutting out
notches in 1/16" balsa wing ribs are shown below as follows: (1) the knife
is used for cutting out the bottom of notches because the razor blade will
not work, (2) The GEM razor blade, (3) a small flat file with a thickness
just under 1/16" (probably 3/64"),
and (4) a 6" flat file with a thickness just under 3/32".
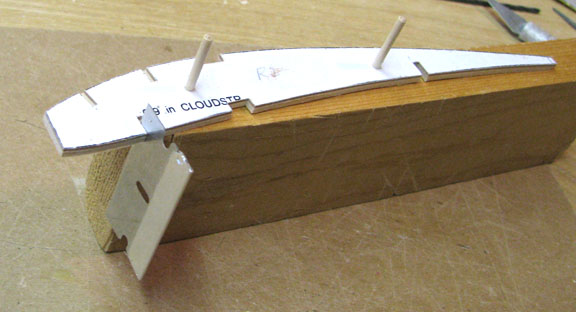
Using one of the 1/16" X 3/16" notches as an
example, the procedure is to first carefully cut down the template notch
sides with the razor blade as shown below, cutting a little at a time on
each side until you have reached the depth of the notch. Do not worry about
the squareness of your cut at this point, in fact it is better to have the
blade tilted slightly to the inside of the notch. Use the knife to cut
across the bottom of the notch and get rid of the balsa material in the
notch.
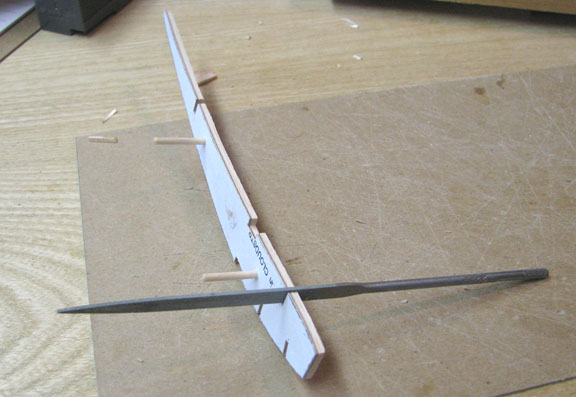
Now, using the small flat file, carefully square
up the edge cuts of the notch a little at a time as shown below, which opens
up the width of the notch. Do not try to reach the final width on the first
filing. By the way, the 6" file is used to square up the edged of the 3/32"
X 3/16" notch at the rear of the rib seen below.
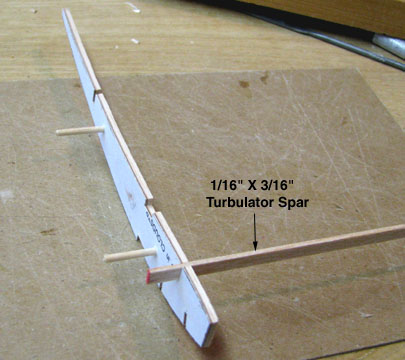
Using the 1/16" X 3/16" balsa spar stock, check
the tightness of spar in the notch as shown below. Then go back with the
file and widen the notch just slightly. This is an iterative process, but
with a little practice, you can get the desired fit in a couple of tries.
Some of you will think this is simply too much
work for just notching out a rib. However, we are all modelers after all and
building models is part of what we do and enjoy. So it takes a little extra
time, the notch accuracy of the end result shown below is well worth the
extra effort in my opinion.

I hope this information will be helpful,
especially to the more inexperienced model builders that are having trouble.
Of course you must realize that over time all modelers have developed their
own way of doing everything. This is only one of many ways to notch ribs and
probably not the best way........................Tandy