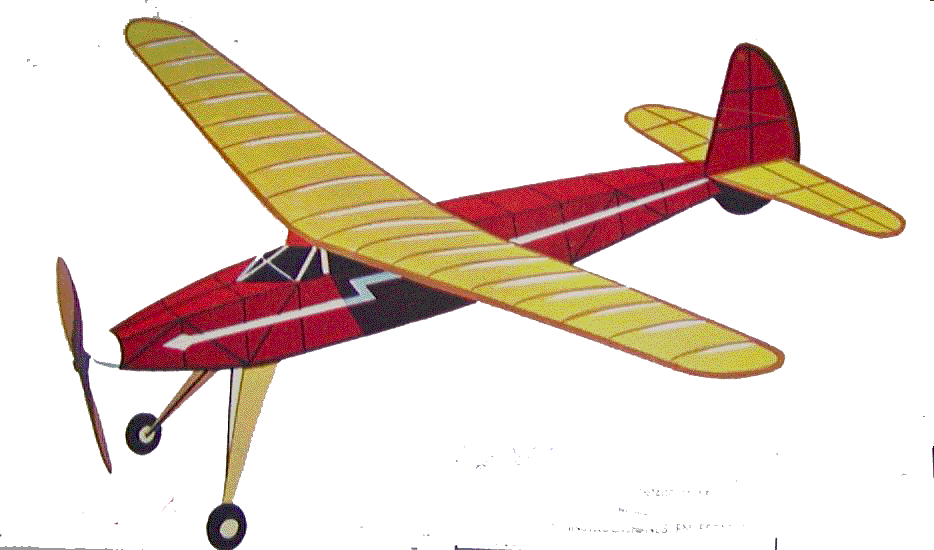
Comet "Phantom Fury" Construction Project Session #12

Comet "Phantom
Fury" Rubber Powered
Free Flight Model Airplane
By Tommy Gray
AMA 17063
Well, in this session, I are doing the final steps to finishing the little Fury! The covering is done, the prop is done, and now I am doing the finish work of painting trim, and putting on decals.
First, I wanted to put on some red trim on the fuselage to try to match it a little to the wing and stab, and to keep it from looking so plain. I usually get out the trim gun and some dope, and go at it. This time however, I was a little lazy and decided to find some spray paint to do the trim with, knowing that I could cover it up later, with the polyurethane I usually use to seal my decals and trim tape.
I drove down to WalMart with a scrap of covering and went through everything they had to find what is very close to the color of the covering. I have had good results with the Krylon FusionTM paint over the nitrate dope on another project, so that is what I got.
To start the process I started masking off the trim on the fuselage.
I used some 1/8" 3M brand vinyl "Fine Line" masking tape to outline the trim (you can see it as the lighter "edge" inside the wider blue tape). I then used the common blue painter's tape to cover the edge of the fine line tape and provide something to attach the masking paper to, that will be used to cover up anything that I do not want paint to get on. I finally covered the rest of the structure with masking paper, and I was ready to paint. (Well almost!)
Next, before painting, I took some thinned nitrate dope and painted it onto the tape at the inside edge (where the color was to go) of the tape, to prevent the paint from wicking under the tape, and making a nasty edge. The clear dope will allow a nice sharp edge when the tape is finally removed, as you can see in subsequent photos.
I then took the masked fuselage out into my shop and painted a couple of coats of the Fusion paint onto it for the red trim. I especially like the Fusion for its fast drying time. I was able to recoat ,and do the final coat, within 15 minutes. The whole thing was dry to the touch and ready for striping tape, within an hour! In the picture below you can see how clean the line was after I removed the tape and paper.
I then took some 1/16" automotive striping tape and outlined the red trim with black, to add a little contrast and to kind of "spiff" it up a little.
Adds a nice bit of "Pizzazz" don't you think?
I also painted the landing gear, and put on the little wheels that I picked up from Easy Built Models the other day when I got the Free Wheeler prop hardware.
While all the paint was drying I went ahead and got on the computer and designed some decals for the little bird. I use water slide decals that I make on the computer, and they work out well. This also allows me to do just about anything I want on the decals. First, I took our SAM 15 logo and shrunk it down for the rudder. NOTE: I may go back and replace these later as I was not happy with the resolution of the letters on the logs when shrunk. I will spend a little time on the computer with my graphics programs in a few days and probably make some more smaller decals for the rudder!
Next, I made and applied the wing decals. These include the one for the Phantom Fury name and also my AMA number. (the left wing picture is a little grainy). As you can see in the right hand picture the covering doesn't really look that bad. In fact it looks pretty good!
Well, I think I will stop here, as I have some more work to do on the finishing. Oh, I also, while I was painting, painted the nose block to match the fuselage, as you can see below.
More to come.........Tommy!