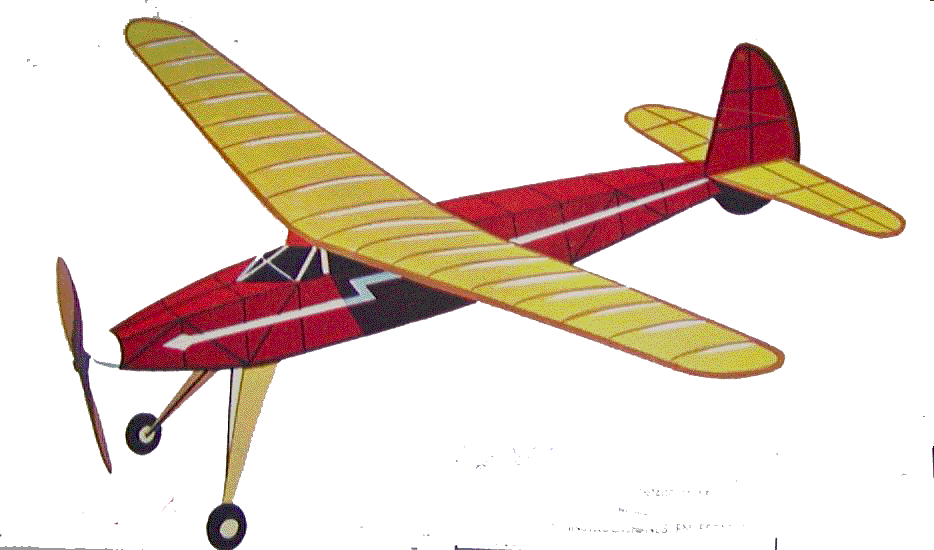
Comet "Phantom Fury" Construction Project Session #5

Comet "Phantom
Fury" Rubber Powered
Free Flight Model Airplane
By Tommy Gray
AMA 17063
In the last session, I started the covering on the little Phantom Fury rubber Job. Below is a picture of the completed stabilizer unit.
After I covered the stab, I covered the wing, covering the bottom first then the top as described in Session 4. The wing turned out fine and is ready for use at this point. Here is what it looked like with the Coverite "Coverlite" tissue applied.
The "Coverlite" tissue looks great and is a lot tougher than traditional tissue & dope. You CAN tell a difference, but for a fast and durable finish it is a great alternative that will still give a somewhat "vintage" appearance to a flying surface.
Polyspan Covering....
Now I am getting ready to start the Polyspan covering of the fuselage and rudders. I say rudder"s" because the Phantom Fury has a sub rudder on the bottom of the fuselage as well as the standard one on top. The Polyspan I use came from Larry Davidson. I have used it now on a lot of planes and love it. Having come from the Silk & Silkspan era where all our covering had to be applied with dope, etc., the Polyspan seemed like a natural thing for me. The one really great "PLUS" for me is the fact that it will shrink with heat. I tack it down with a dope brush, and once secured and trimmed, I use the sealing iron and shrink it out and finish the edges.
It does not bend well around edges, but with a little heat applied, it will form nicely to corners, etc. When covering severe compound curves, you may have to slit it with a knife, etc., and overlap it a little. These overlaps when done right, however, will be almost invisible. All it takes is a little dope and some minor sanding, and a tad of patience!
I use a 50-50 mixture of Sig nitrate dope and thinner to apply the Polyspan and to seal it. One word of caution here. Sig says that its nitrate does not shrink, but it will to a certain degree, so be careful where and how you use it. After having seen the video that Larry Davidson puts out on covering with Polyspan, I saw his little jars he used for the dope and tried them for myself. They work great, and the dope doesn't seem to harm the plastic seals at all. The one in the picture below is over a year old and has been used a lot and still seals off and works as well as it did the first day I used it. I take a permanent Sharpie marker, and write a description of what is in the jars on the lid. I have some with un-thinned dope, and some with 50-50. These little jars work great for me. I got mine at the local Wal-Mart store in the "Housewares" section.
Well, on to the covering of the fuselage. The "proper" way to cover a fuselage is to cover the bottom first, followed by the sides, and lastly the top. This way all the overlaps are least visible. In the first picture you can see I am starting to cover the bottom.
NOTE:
Allow me to inject one thing here first. When covering Polyspan, silk, silkspan, tissue, or any covering that is "doped" on, you should put at least a couple of coats of nitrate dope on the wood first to seal it, sanding in between coats. I always sand in between the coats to remove any balsa fuzz, and give a smooth surface for the covering to adhere to. Then if it needs it, I will add another coat or two of the 50-50 thinned dope afterward.
With Polyspan there is another important thing to know. The covering has a shiny (smooth) side and a rough side. These are sometimes hard to tell apart. Fortunately on my rolls, the shiny side was wound out so that it was easy to find. You can identify the shiny side by holding the piece up to the light. The smooth side "shines" more than the other. If you make a mistake and put the rough side out, you will regret it, as it will be hard to finish and not look as good as the proper side! Some have said to take a piece of Velcro and drag it on the surface to the Polyspan, and on the rough side, you will hear it "click". I personally have never had trouble telling which side is which with a light however. Also can usually tell which side is the slick side by just running my hands over it. On the slick side when rubbing gently with your hand, the hand slides, and on the rough side, you can feel it kind of "snag" from time to time.
First, I cut a piece of the Polyspan roughly to size. Next I applied a coat of thinned dope to the outer perimeter of the structure to soften the former coats of dope and give the covering something to stick to. Then I carefully placed the piece of Polyspan (smooth side out....VERY IMPORTANT!!) on the surface and gently smoothed it out trying to remove as many wrinkles as possible without tearing or damaging the covering. Any wrinkles left can usually be shrunk out with the sealing iron after it is applied. I continue to smooth it down using my finger until the dope tacks off and the covering sticks down securely.
More to Come in the next session!....Tommy