Comet Sailplane
Project
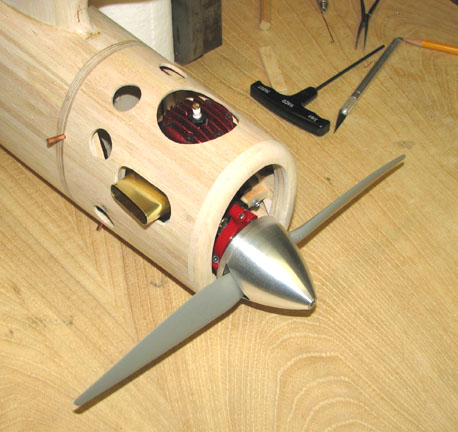
The task for the day today was to fabricate an
exhaust extension that will direct the engine's hot exhaust gases out of the
opening in the cowl without burning the edges. Before I start the discussion
however, I want to give Bill Taylor from Tulsa, Oklahoma, full credit for
having previously developed the procedure for making the extension and
devising the way to attach it to the engine with the cowl installed. In
addition, Bill was kind enough to counsel and walk me through the steps of
his approach.
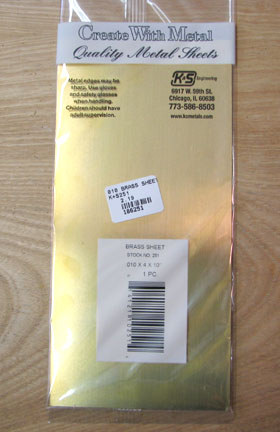
I picked up a sheet of .010" thick K&S brass
shown below at Roy's Hobby Shop.
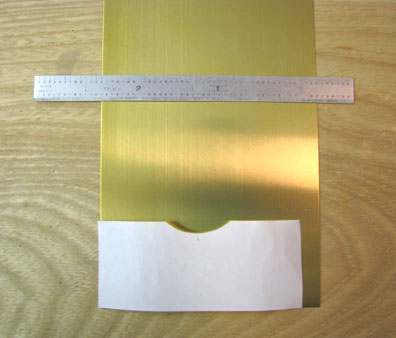
Next I made a paper template for the exhaust
extension, laid it out on the brass sheet as shown below, and cut it out.
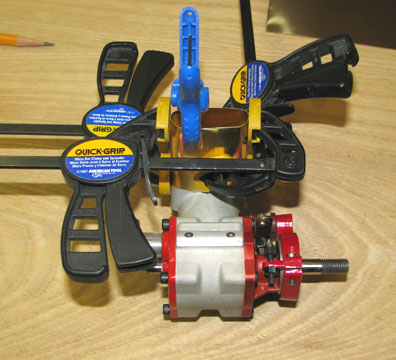
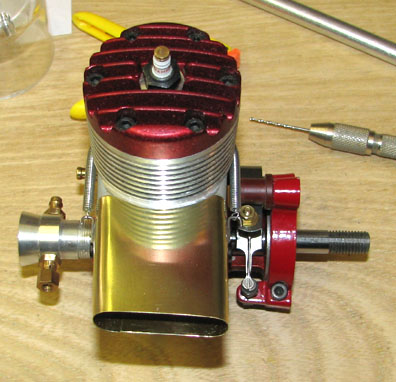
Then with a lot of pressing, bending, shaping,
and clamping, I formed the cut out brass sheet around the engine's exhaust
stack as shown below.
After soldering the brass's overlap seam on the
bottom, I made two retention hooks out of .031 piano wire and soldered them
to each edge of the extension. Each hook has a small right angle bend on the
end that fits through a hole in the side of the brass extension before it
was soldered in place as shown below.
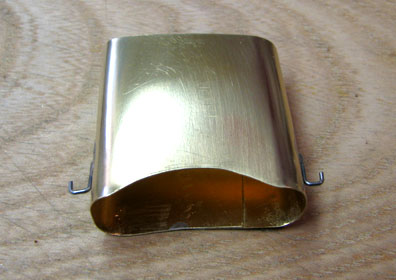
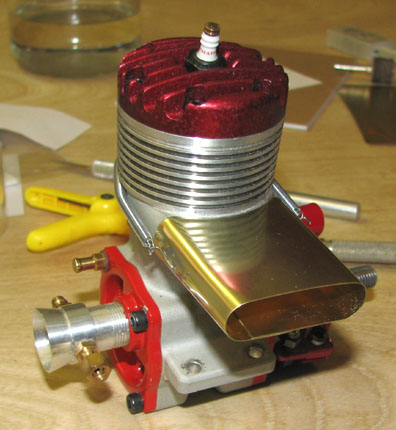
Two springs were linked together to get the
proper length and wrapped around the engine's case to retain the extension
on the exhaust stack as shown below. The exit end of the extension was
trimmed off on a bias as you can see in the picture below.
This is another view of the extension.
The springs must be wrapped around the engine's
case and retained during the time the cowl is put on. As shown below, two
small hooks were made that slip over the edges of the engine's exhaust
stack on either side as per Bill Taylor's instruction.
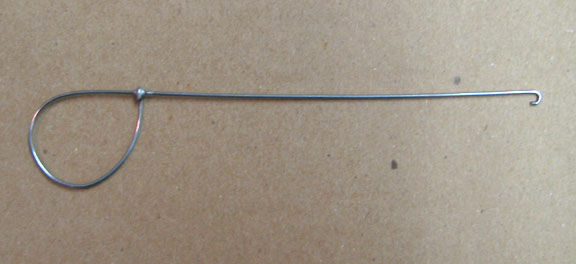
The "wire hook" shown below was made out of .031"
piano wire for reaching inside the cowl, hooking the spring and removing the
side hook on the edge of the exhaust stack, and attaching the springs to the
hooks on the sides of the exhaust extension. The spring tension then pulls
the extension onto the exhaust stack and holds it in place. This procedure
takes a little practice, but I finally got the hang of it.
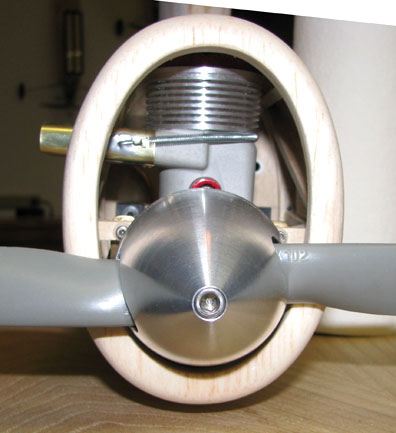
This picture is a view looking into the front of
the cowl showing the exhaust extension spring retention.
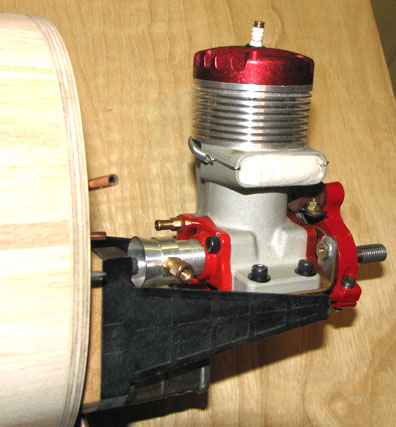
This shows the completed installation of the
brass exhaust extension.....................Tandy