J-3 Cub Deck Finish
Sanded
After the deck dried, (1) I carved down the edges
of the inlay pieces that were closes to the stringers with a razor blade.
Next (2) I used a small 220 grit bar sander to sand only along the top
stringers to bring the inlay pieces down flush with the stringer's top
surface. Remember, the 1/16" square stringers are medium to hard balsa,
while the inlay pieces are very soft balsa to keep the weight down. Using
320 grit emery paper, (3) I carefully hand sanded the surface of the deck to
contour the inlay pieces between stringers and bulkheads. This is were years
and years of modeling experience pays off because if you are not very
careful, the soft balsa inlays will end up "flat" between the hard
stringers. Finally, using 400 grit emery paper, (4) I did the finish sanding
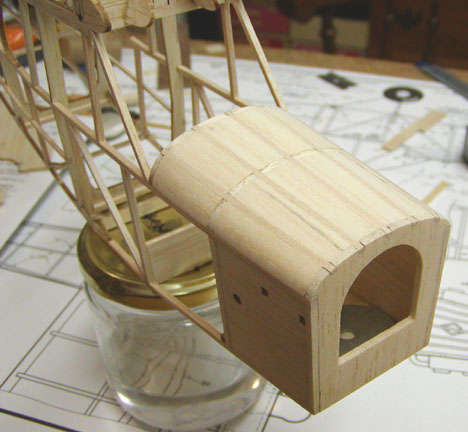
on the deck's surface. The results are shown in the picture below in a view
from the right side.

This is a view of the finished deck looking
down from the top.
I know I have made a "big deal" out of this #@!!
deck, but I couldn't be more pleased with the way it turned out. The
appearance of the inlay work between the deck's stringers in the picture
above is most pleasing. This deck is strong, light weight, and will cover
nicely. So much for the deck, now I have to move on to the next steps in
construction......................Tandy