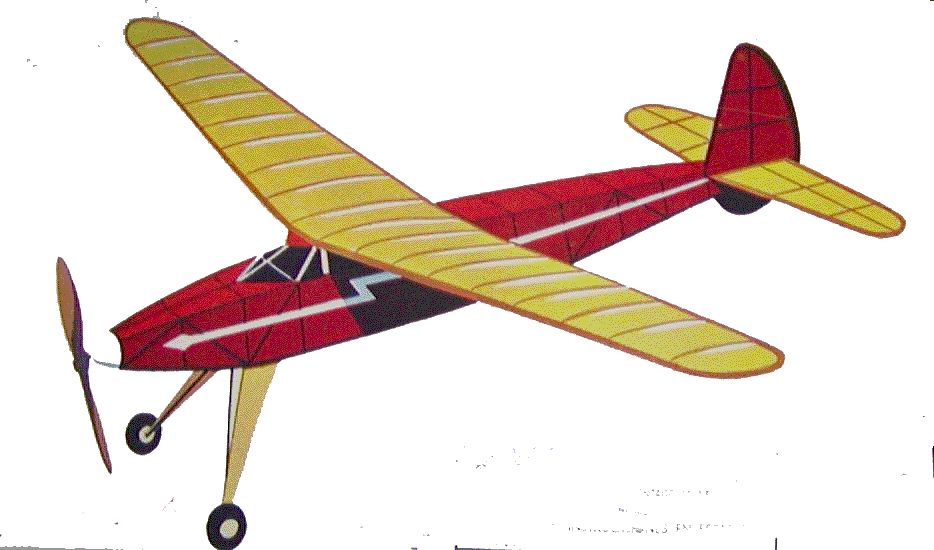
Comet "Phantom Fury" Construction Project Session #10

Comet "Phantom
Fury" Rubber Powered
Free Flight Model Airplane
By Tommy Gray
AMA 17063
I was wanting a nice ball bearing thrust washer for the prop assembly but was having difficulty finding one as so many of the folks who once made them are no longer in business. Searching the Internet did not yield anything suitable from all the regular suppliers so I put out a feeler on the SAMTalk list. Fellow SAM 15 member and friend Mike Kilmer responded to me that he had a lot of parts I could look through to see if he had what I needed. Since Mike only lives about 20 minutes up the road from me, we set a time, and I drove up there to "cruise" through his stash. He had a wonderful assortment of great looking props for various rubber jobs he has (wish I had them!! <chuckle>!), and he also had a nice great big bag of assorted hardware. In it I found just exactly what I was wanting for the thrust washer. It is, as you can see, a nice brass unit with great stainless steel balls. It should last a lot longer than the little Phantom Fury! Thanks Mike!!.
Going on from the prop for a while, I needed to build some landing gear for the little bird. On the O'Reilly plan he mentioned using some small aluminum tubing for a "socket" for the gear. I previously glued these into suitable balsa blocks before covering the fuselage.
Next, I took two pieces of wire, bent one in the shape of the front part of the gear, one in the shape of the rear part, and then soldered them together at the bottom. I will not show the details as I think you can figure out what I am talking about from the finished pictures.
First, here is the side of the fuselage showing the little pieces of aluminum tubing I made into the structure to hold the plug-in gear
Here is a picture of the gear itself. Notice that once I soldered the front and back together, I glued in a filler of 1/16" balsa to fill out the gap between the front and back. I then covered the whole gear unit with Polyspan.
Below is a picture of the gear plugged into the sockets. The fit is very tight so there is no need to glue them or secure them in any way. It takes a little effort to get them plugged in, as I intentionally left them very tight. (In the picture below I had not finished ironing down the edges of the Polyspan).
As you can see, the little bird is taking shape!!
More to come.....Tommy!