Comet "Phantom Fury" Construction Project Session #11
Comet "Phantom
Fury" Rubber Powered
Free Flight Model Airplane
By Tommy Gray
AMA 17063
Well after looking at the prop for a few weeks now I was not happy with the whole free wheeler arrangement. A while back, I visited fellow SAM member Mike Kilmer who lives a few miles up the road from me and he had quite a few complete rubber prop/noseblock assemblies in his "hangar". I noticed that very few if any of them had the type of free wheeler I was using on them. In fact they were very simple arrangements with a little brass plate on the front of the prop which has a small catch machined into it to catch the prop rod and engage it while flying. The back side of the plate was curved to prevent the rod from catching the other direction and the whole free-wheeler operation was accomplished with nothing more that the little plate!!
Well, being a firm believer in the K.I.S.S. principle (Keep it Simple stupid), I said I had to do this for my little Fury. I set about to make a couple of prototypes out of some brass stock I had in the shop. While I was involved in doing the first one, I was browsing the Internet and searching for other options of free wheeler hardware, just in case. WOW!! I found the Easy Built Models site and lo and behold...they had a very similar set of hardware to what Mike had used, on their site at a very cheap price. Well, I bought several sets of every available size they had just to be sure! It does exactly what the brass plate arrangement does and looks great too. The set also included the plate for the rear of the prop and a cone shaped brass washer to go between the prop back plate and the nose block.
The entire setup of ball bearing washers, Teflon washers, springs, tubing, and wire was reduced to just three little pieces of metal, and even included a pre-bent prop rod of the correct size for the unit. Can't beat that!
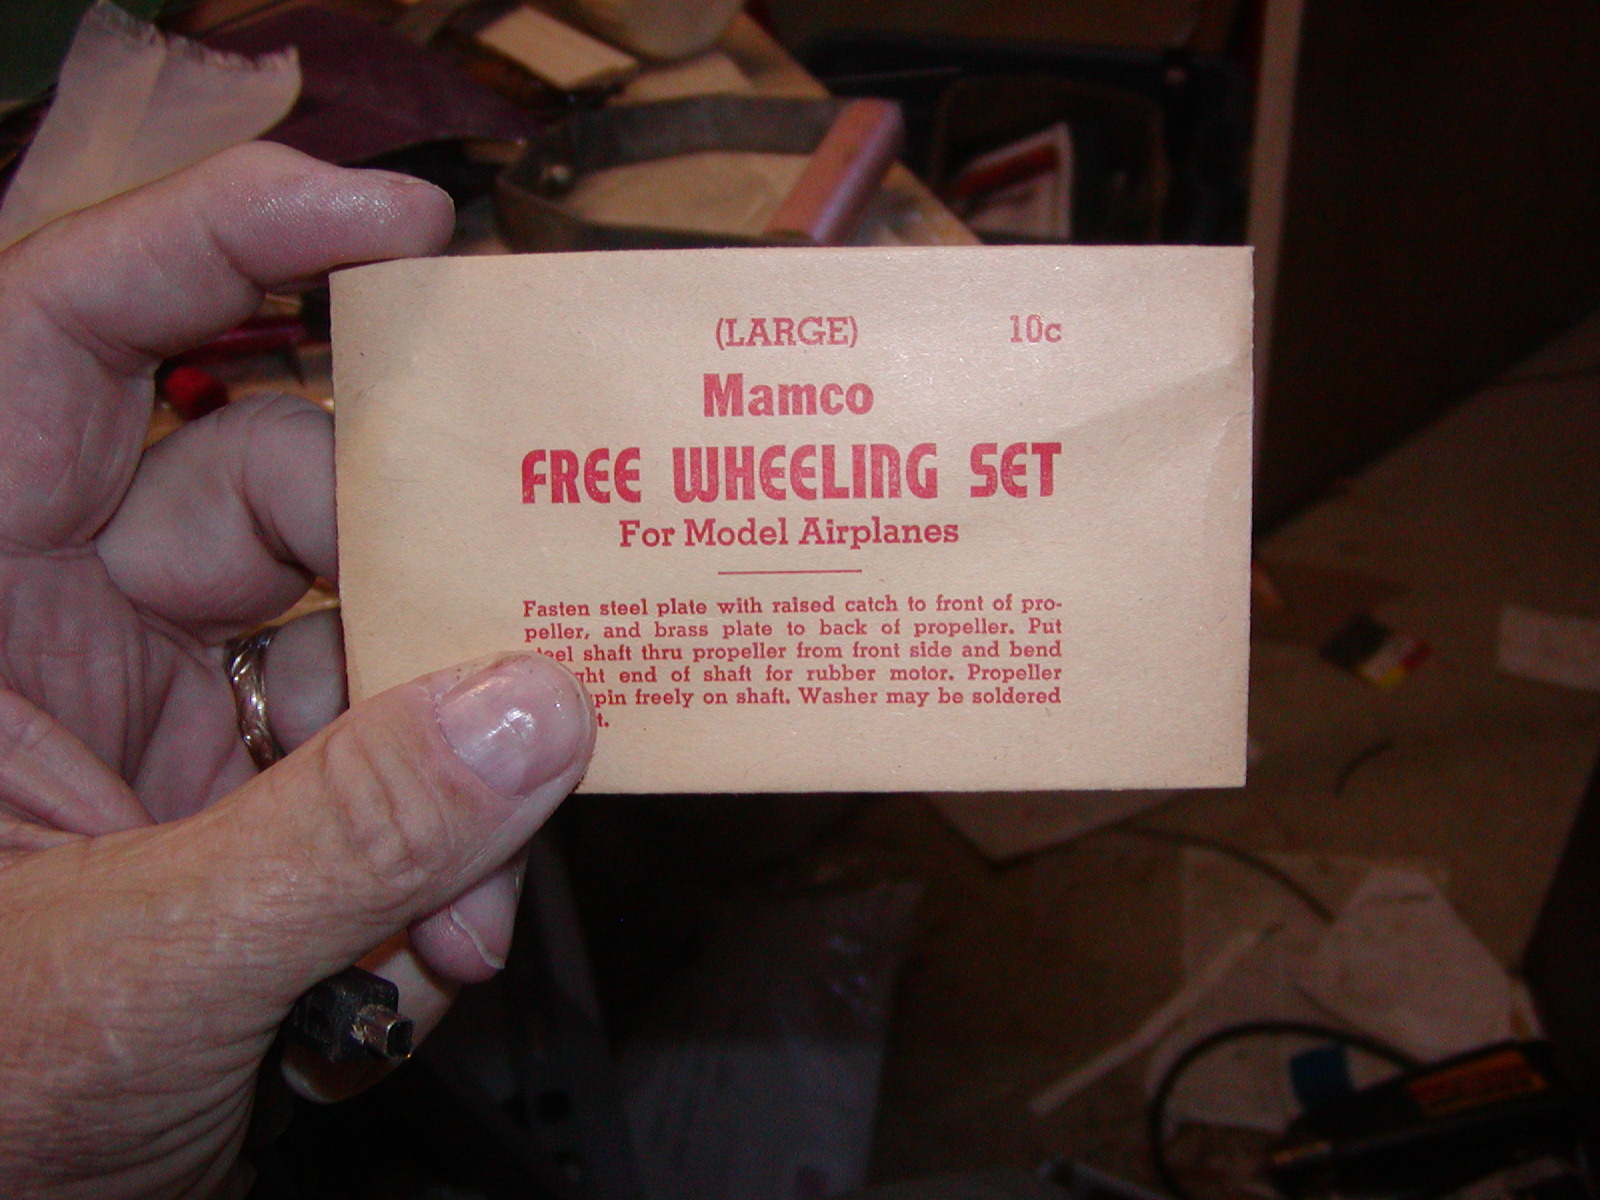
Here are the individual components.

Now this brought up something else. The original prop I had carved was just that... "My Original". I was not really happy with it but was prepared to use it as it was not that bad. When I got the new hardware however, it became apparent that the top and bottom of the old prop were thinned out so much that the plates were sticking out a tiny bit. Now I had a good excuse to carve a new prop after having gained a little experience with the first one.
So at this point, I will go into how I carved my prop. Remember, I am still very much a novice prop carver, but am getting better. I will now show you how I made the new one.
First, I marked out a new balsa block with the appropriate lines for
carving (and a few extra from the trial and error!). I then cut the blank on my bandsaw to
the desired shape in preparation for carving.![]()
I was ready to start carving out the new prop. At this point I got and knife and went at it! I started on the rear (not the front as on the first one that I did). The video I had was by an experienced carver and others have since recommended that I do the rear first, as (the way I see it) it allows you to get the proper shape to the undercamber on the back before taking too much off the front, and I can also see how it might work a little better.
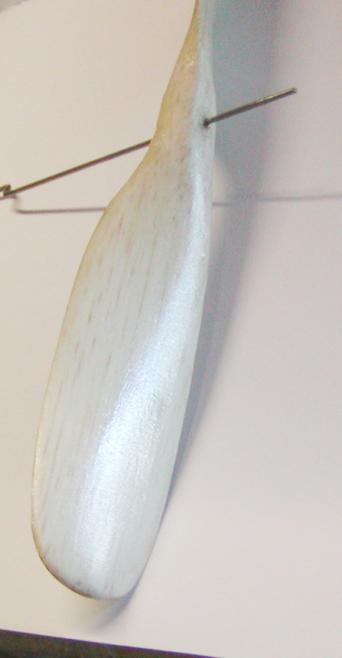
As you can see below, it is starting to take shape. At this point I had started carving and sanding both sides.
.JPG)
Here it is from a side view....
.JPG)
In the next picture, you can see that I have continued to shape and thin the prop. I used sandpaper wrapped around a glue bottle as you see here, to sand in the curve to the rear of the prop. This gives it shape and also thins down the center.
.JPG)
After I finished sanding the prop and got it ready to finish off, I put on several coats of 50-50 thinned nitrate dope. I can easily get Sig dope at the area hobby shop so that is what I use, and it works well. After each coat had dried, I used fine sandpaper to sand it. The dope seals the wood and also adds a lot of strength to it. Once I had it pretty smooth, I cut out some fabric pieces to cover the prop with.
Recently on SAMTalk, there has been some discussion about using lightweight fiberglass cloth on rubber props. I had asked the question about using silk instead, and SAM member and rubber modeler extraordinaire, Al Pardue, stated that he had used silk with success in the past. I figured that if silk would work O.K., the the stuff I had would be even better, and still not be as heavy as fiberglass cloth. What I used, was some scraps of Sig "Koverall" covering fabric I had left over from a few previous covering jobs. It is similar to silk in appearance and though it is a tiny bit heavier, it is a LOT stronger.
In the picture below, I have covered the rear of the prop with a piece of the fabric, using the 50-50 thinned nitrate dope to attach it. After brushing on the dope, I used my finger to smooth it out and kept rubbing it down until it was securely attached and wrinkle free. After the first coat dried, I trimmed off the excess, and put on another coat of dope to get rid of the "whiskers" at the edges. Once the rear was dry, I repeated the process on the front of the prop.
.JPG)
Here is a picture of the Sig "Koverall" before I doped it on.
.JPG)
After I had the prop covered, I started sanding with very fine sandpaper, and doping the covering over and over. I will continue to do this until it is sealed and slick. It still needs some more, but you can see here that it is already taking on a good shine after just a couple of coats!
Once the doping and sanding are finished, I will mount the free wheeler hardware and put the prop permanently into the nose block, completing the assembly. I will show you a picture once it is done.
Oh, by the way. I said earlier, that I "Carved away everything that did not look like a prop"...Well here is the evidence (at least of the attempt)!
.JPG)
A Side Note: A few weeks back, I mentioned on SAMTalk, that I needed a suitable winder for the little bird. Fellow SAM member Ed Harding from Kingston, TN, graciously sent me a spare one from his place, and as you can see below, it should do a great job! Before you guys email me with comments about the winding hook just being stuck in the chuck, let me set your fears to rest. It is silver soldered securely into the chuck and is not going anywhere! The handle has also been securely brazed on and is strong! Thanks Ed!
Well that is all for now.

More to Come....Tommy!