I spent a fair amount of time consulting with
Gene Wallock over the phone to get a good understanding of how the bulkhead
pieces and 1/8" stringers were meant to be installed on the fuselage frame
as per the plan. It isn't so obvious, but there are a number details to be
worked out in you mind before you start anything on this Sailplane as it is
one complicated airframe to build and to modify for R/C.
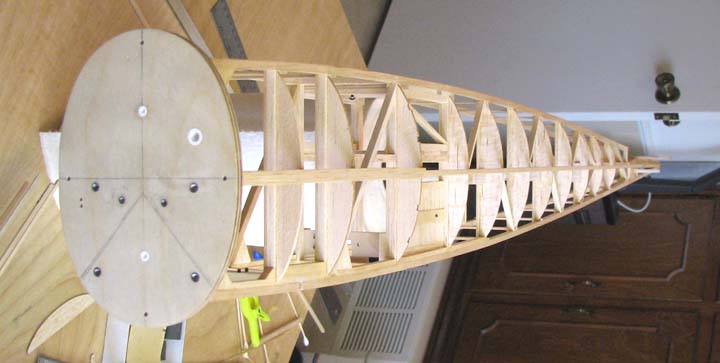
I worked through most of this on the left side of
the fuselage yesterday and today. As shown below, you see most of the
bulkhead pieces glued on. I used the red thread to check the alignment of
the stringer marks on each bulkhead piece down the length of the fuselage.
The alignment was perfect, a testimony to how well these pieces were drawn
up.
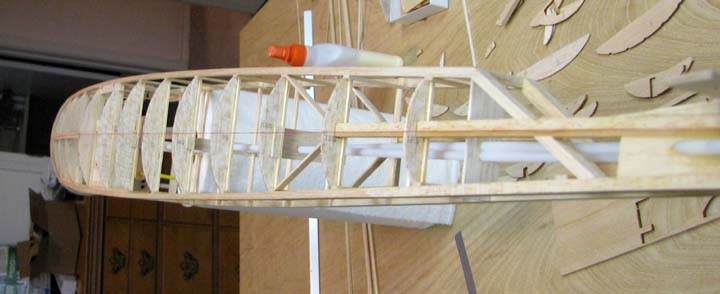
This is a view of the left side looking aft down
the fuselage.
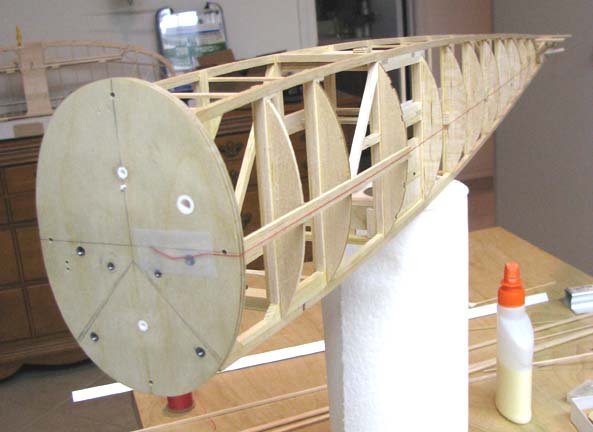
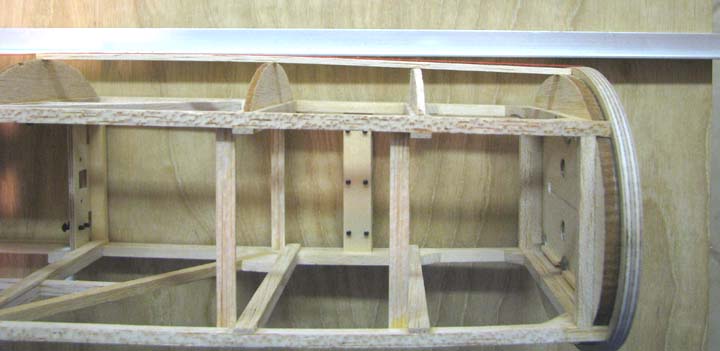
This picture is close up to show the 1/8" notch
in the forward planking to receive the forward end of the 1/8" square
stringer.
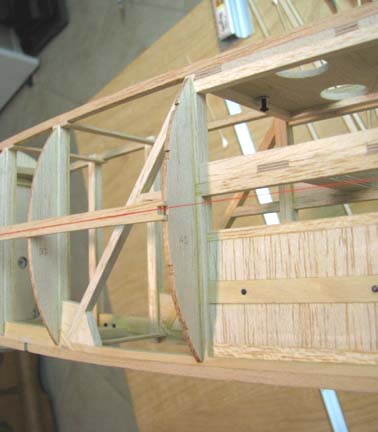
The side bulkhead piece No. 2 is the only piece
that I found in error. It was the right length, but almost 3/16" too high.
This can be seen in the picture below by white edge on No. 2 bulkhead piece.
After the left side bulkhead pieces were glued in
place, I could then glued in the left side 3/32" X 3/16" diagonals in the
aft part of the fuselage to provide the much needed additional torsional
stiffness as shown below.
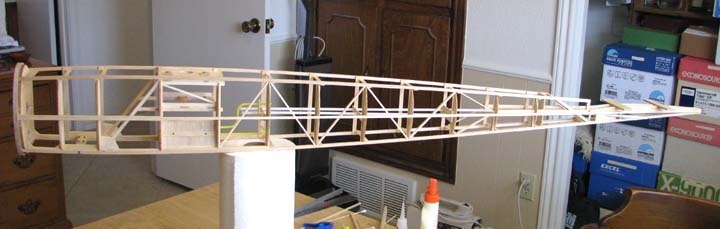
I decided to go on and install the center 1/8"
square stringer on the left side of the fuselage to stabilize all of the
bulkhead pieces and prevent them from getting broken off in handling. Notice
how straight the stringer is down the length of the fuselage.
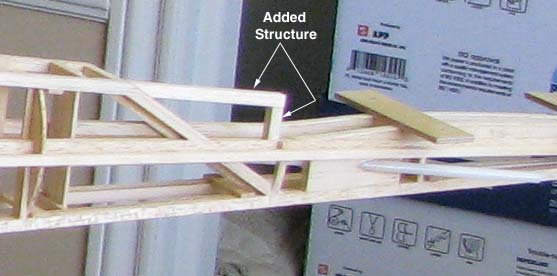
In the picture below, I have extended the rear
inclined 3/16" primary frame on the left side back to the location of the
leading edge of the stab and squared it off. There are still have a number
of details to be work out on the fuselage structure just in front of the
stab and how to get it faired into the fin, but that will have to be a
consideration for another day...................................Tandy