Comet
Sailplane Project
You know when you lay up a fuselage side or build a stab, after you finish
you feel like you have accomplished something. However, you can spend a
significant amount of time in doing a lot of detail work on a bunch of
small items and at the end of day you feel like you have nothing to show for
it. Well, that is where I am this evening. I will report on what I have
done, but it seems insignificant, considering how much work I put.
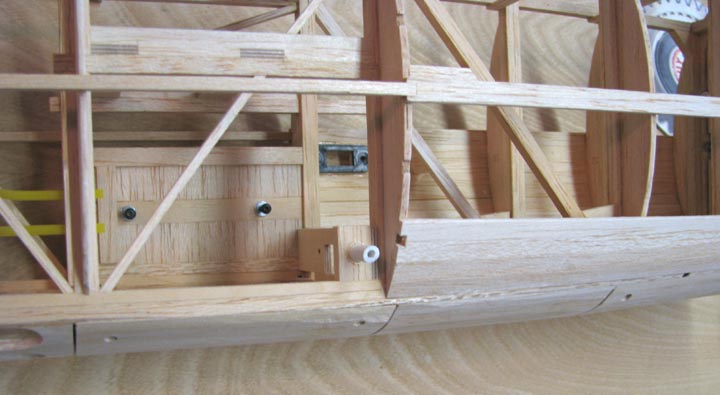
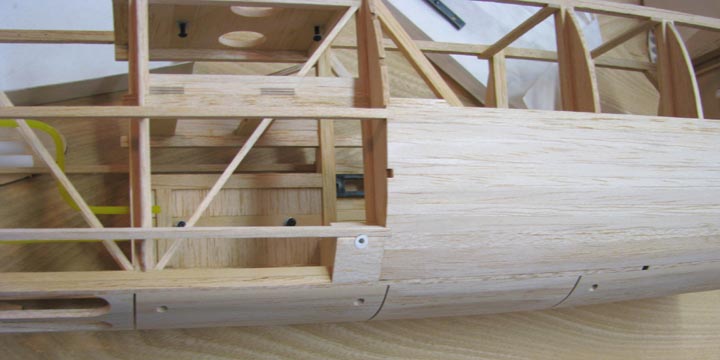
If you recall in Report No. 29, I have installed an internal push-pull
switch for the radio that has a 1/16" wire rod exiting the side of the
fuselage as shown below .

I glued in a piece of white ABS plastic tube to
serve as a guide to the outside of the fuselage supported by a piece of
3/16" balsa as shown below.
Next I drilled out a block balsa and slid it over
the ABS tube, beveling it so as to clear the lower 1/8" stringer that has to
be installed as shown below.
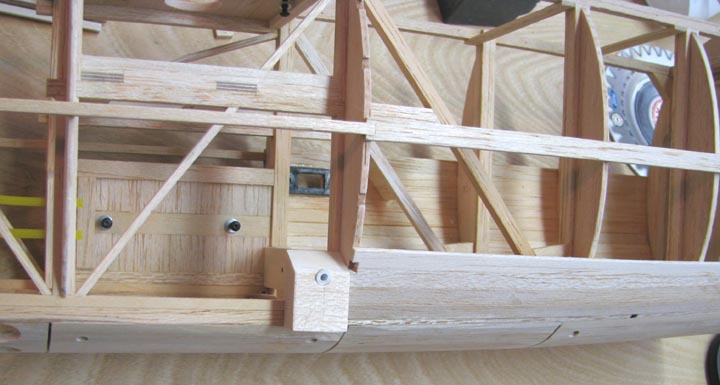
The block was trimmed to contour and a piece of
1/8" stranger laid in place for the picture below, but glued. Notice the
fuselage's forward lower planking on the right side is also now complete.
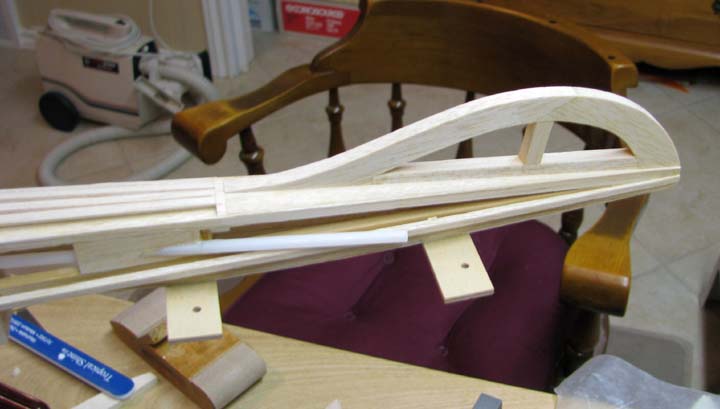
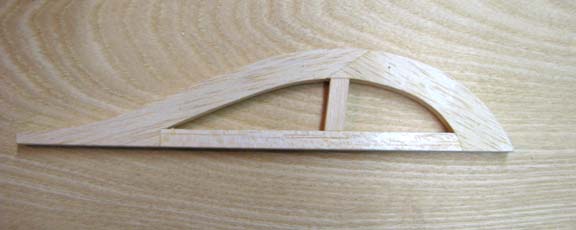
The 1/4" balsa for the sub rudder's laser cut
parts were too soft so I recut the parts from medium hard balsa. Since I
plan to cover the sub rudder before it is glued to the bottom of the
fuselage, I added a 1/4" square balsa runner along the bottom of the sub
rudder as shown below.
I made provisions for a 1/4" wide slot on the
bottom of the fuselage at the rear to receive the sub rudder as seen below.
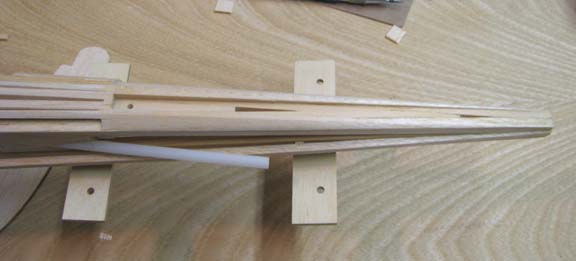
I inserted the sub rudder into the rear fuselage
slot in the picture below so you can how the rear end of the fuselage is
going to look with its sub rudder in place. I know, it is not really a lot
to show for a days' work, but what can I
say!.............................Tandy