Comet
Sailplane Project
I have been planking on the top of the Sailplane
around the pylon for two and a half days now. I started on the left side.
Trying to barrel plank across eight bulkheads over a distance of some 18"
using aliphatic glue has been a real challenge requires a lot of patience.
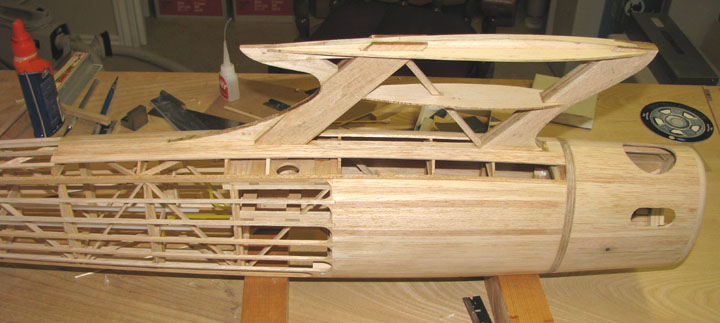
The picture below shows the left side planking complete.

After the 3/32" X 1/4" planking strips
are cut to length and beveled edges sanded on both sides, glue is applied
to the edge of the strips and it is put in place. I use Q-Tips dipped in
water to spread the glue around and do a lot of holding and squeezing
until the aliphatic glue forms a tack, which actually happens pretty
quickly. CA does not lend itself for this type of planking very well for
me. However, occasionally a drop of CA will be applied when a
troublesome strip won't stay in place, but this does not happen often.
This shows the two strips glued on the
right side of the pylon with several more to go. Notice the gap left down
the center of the pylon.
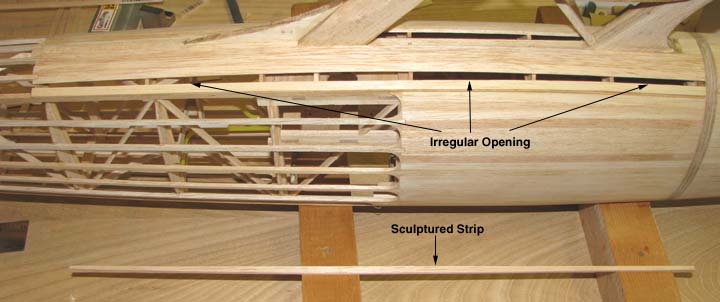
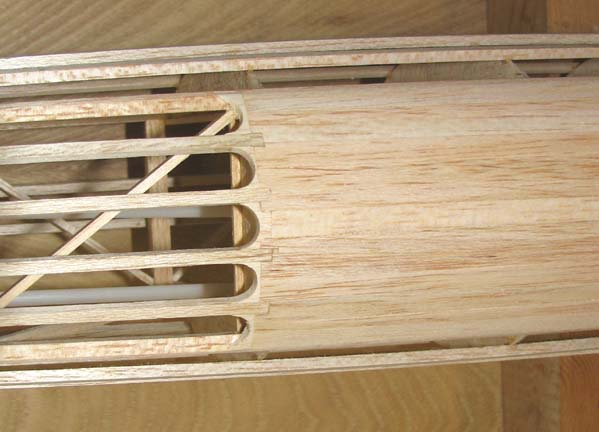
The last strip will always require a significant
amount of custom work because it has to hand sculptured and sanded to fit
into the last opening. This is because the last opening ends up narrow at
the front and back and wider in the middle as shown below. Getting the
strip to fit properly requires a number of iterations, removing very small
amounts of material from the edge of the strip each time. Notice the custom
sculptured strip at the bottom of the picture.
The picture below shows all of the top planking
now compete. Notice that even the gap down the center of the pylon has
been planked. Even though the gap will not show inside the pylon after the
sides are planked, the concern was that small screws and washers could drop
into the interior of the pylon structure during equipment installation if
the gap was left open.
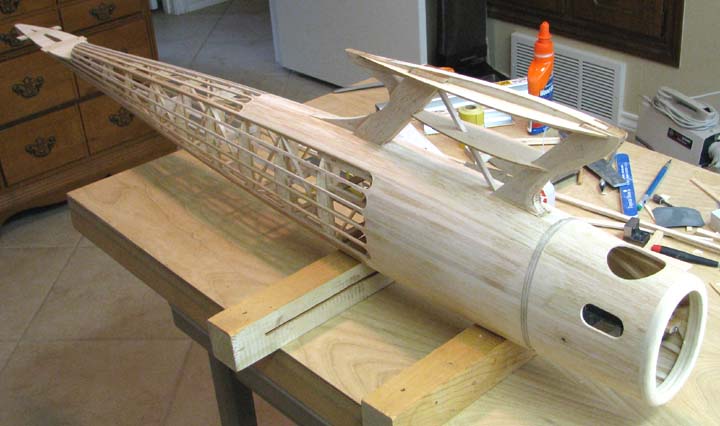
This is another shot of the top planking from the
rear view showing the top planking transitioning into stringers.
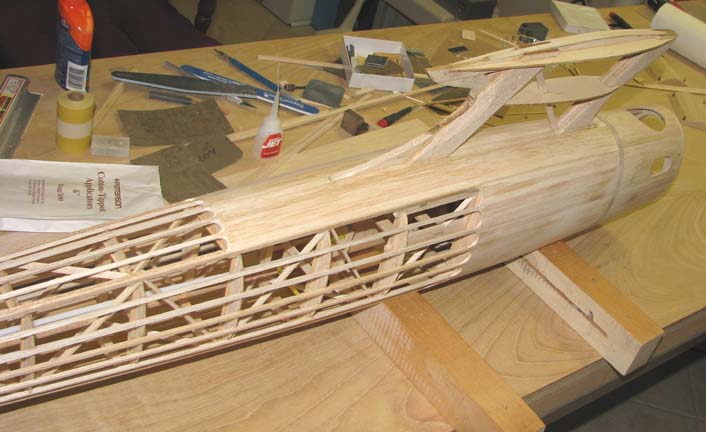
This picture shows a close up of the small stringer fillets where the
stringers attach to the forward top planking. As I have mentioned before,
the purpose of these fillets are two fold. The first is to tie the stringers
into the forward planking more securely and the second is to prevent dope
from collecting in the corners where the stringers attach to the forward
planking.
The next step will be to sand the top planking
smooth, add in the last pylon rib along bottom, and then start planking the
sides of the pylon itself. For any of you that built a Bomber and planked
its pylon, you know the effort that will be involved in planking the sides
of the Sailplane's pylon around the
ribs.................................Tandy