Comet
Sailplane Project
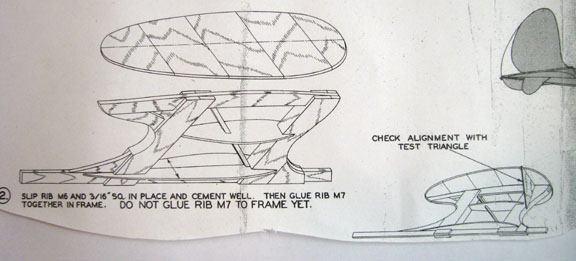
The Comet plans have instructions for building
the pylon that do not make a lot of sense to me. First, they call for 1/32"
sheet balsa to plank the Sailplane pylon with, which I consider too thin. I
selected 1/16" planking instead. Second, they instruct the builder to glue
the wing saddle to the pylon frame before the pylon frame is installed on
the fuselage structure (see picture below). If I attach the wing saddle to
the pylon frame before installing on the fuselage structure, then the pylon
side planking has to not only be fitted to the fuselage at the bottom, but
it has to be simultaneously fitted to wing saddle at the top as well.
Considering the pylon planking's compound curves and complexity, I could
never accomplish this top and bottom double constraint.
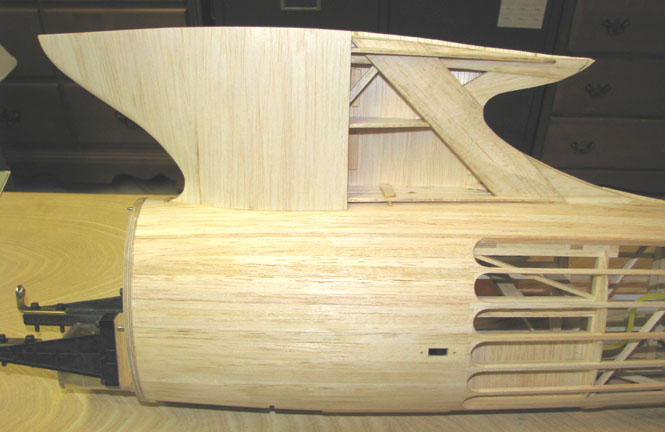
That is why I installed the pylon frame on the
fuselage without the wing saddle as shown below.
In the picture below, you can see the "hour
glass" effect of the forward 1/16" sheet balsa planking near the bottom at
the fuselage intersection. The problem arises when trying to shape the
bottom edge of the planking to make it fit properly where it intersects the
fuselage's sheeting. To achieve a proper fit requires several iterations,
trial fittings, and loads of patience for each sheet. Notice that the
top edge of the pylon planking was left long and will have to be trimmed
later. This picture also shows the internal alignment tabs on the aft sheet
required to properly interface the planking vertical joint.
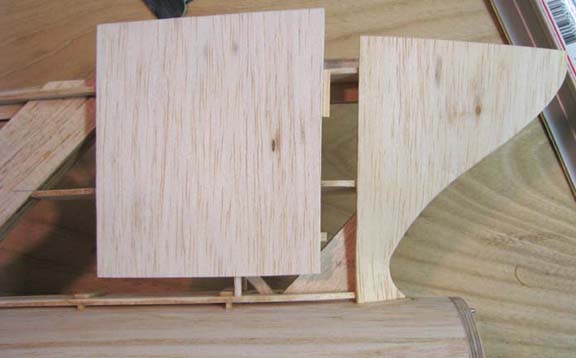
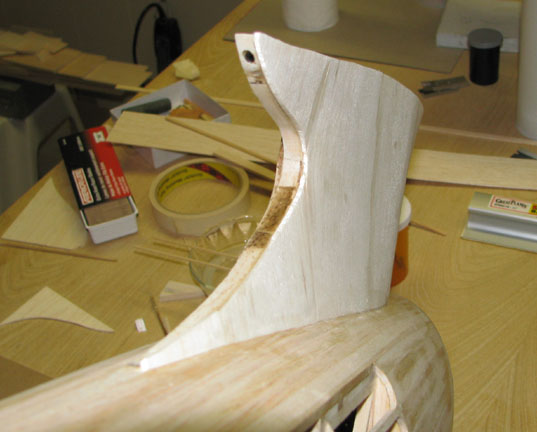
This picture shows the above planking joint
completed. Notice that the pylon cross section goes from a varying width
hour glass at the LE to a constant width near the center of the pylon
frame. Also notice the complex intersection starting to form of the
bottom edge of the planking with the fuselage as you move from the LE aft.
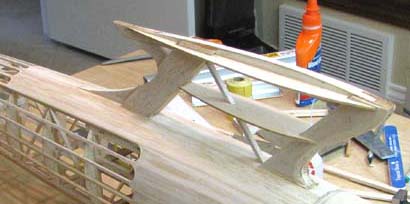
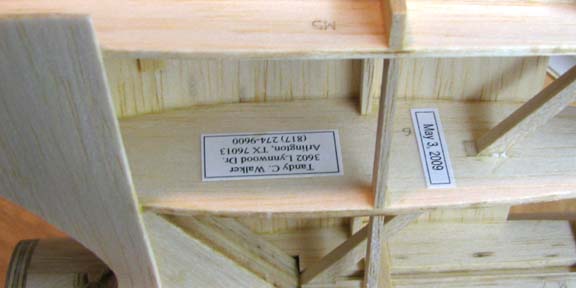
A view from the other side shows
that I have my name, address, and date glued on the top of the center
pylon rib, which will be closed up inside when the pylon planking is
complete. This is like a "Time Capsule". I have them in either in the
pylons or planked wing center sections of all of my models.
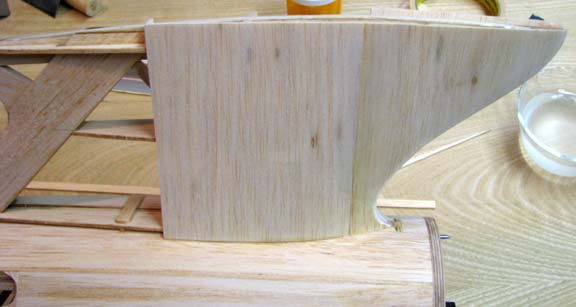
This pictures shows the 1/16" sheet planking
compete on the right side of the pylon. However, It has not been final
trimmed or sanded yet as I want to let the glue dry good overnight.
In the picture below notice how the pylon cross
section goes from a near constant width at the center and then necks down
in to an hour glass shape as you approach the trailing edge.
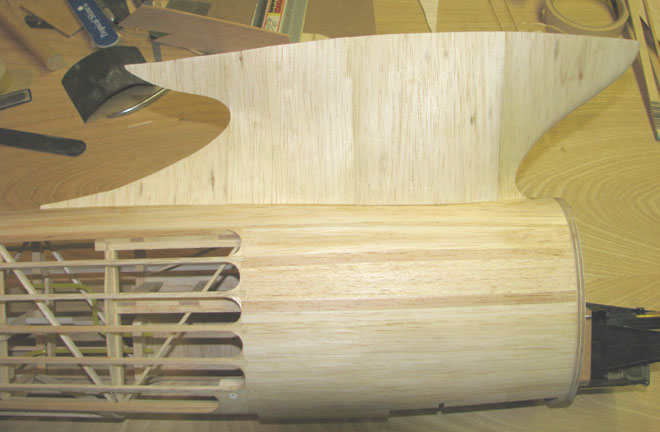
In the morning, I will begin planking the left
side of the pylon. However, since I will be working in the blind, I will
not have access to the pylon's interior frame work shown below. So any
adhesive I use has to be applied before the planking goes on. The big
question is how on earth can the left side planking be held in place up
against the center rib long enough to achieve a bond necessary to produce
the hour glass shape? If you have any ideas or have solved this problem in
your previous work, please share it with me
tonight.....................Tandy