Comet Sailplane Project
Beecroft's Technique
For those of you who have not made epoxy fillets,
I am going to repeat part of a report I did on the Bomber back in June of
2006. It is a description of a test sample epoxy fillet made using Bob
Beecroft's instruction set.
********************************************************************
First I made a "V" trough to receive the epoxy
shown below. Bob told me mark off the width of the fillet on each side and
run masking tape down each side also shown below.
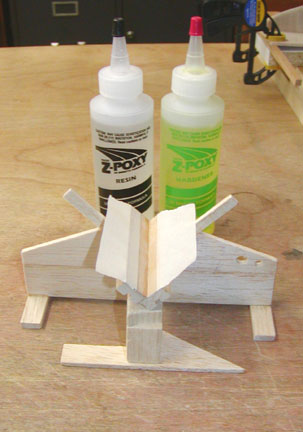
Then he said to make a fillet cross section
pattern on the end of a balsa strip, which will be used to shape the fillet
by a single pull of the balsa strip down the "V" trough. Shown below is the
balsa strip with the tangent points marked on it.

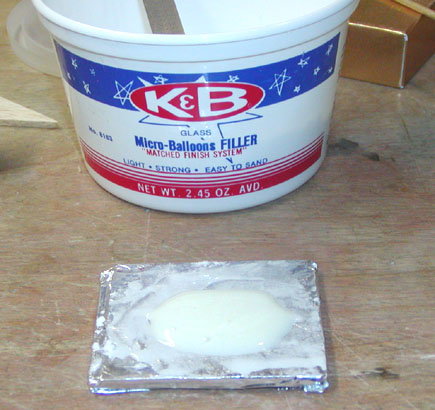
I used a mixture of 1:1 Paces's Z-POXY and about
3/4 of a tea spoon of K&B micro balloons shown below.
This picture shows the test sample with the
epoxy/micro balloon mix smeared into the "V" trough.
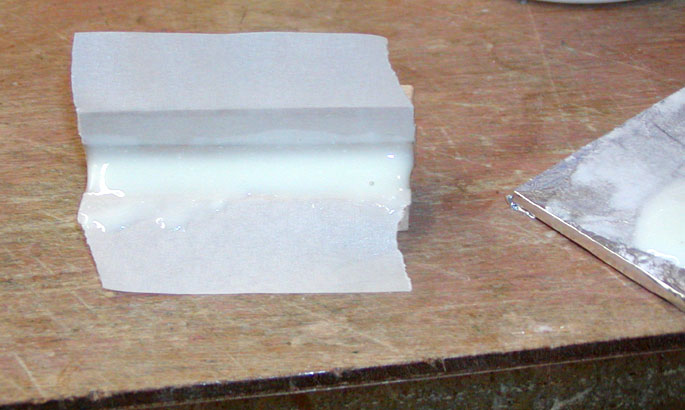
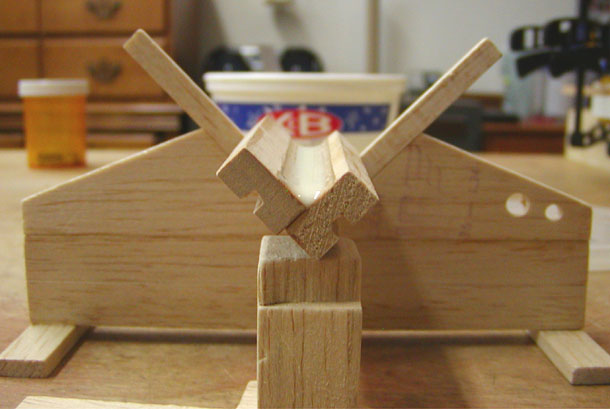
This shows the resulting epoxy fillet after the
balsa strip was pulled down through the "V" trough and the masking tape
strips pulled up.
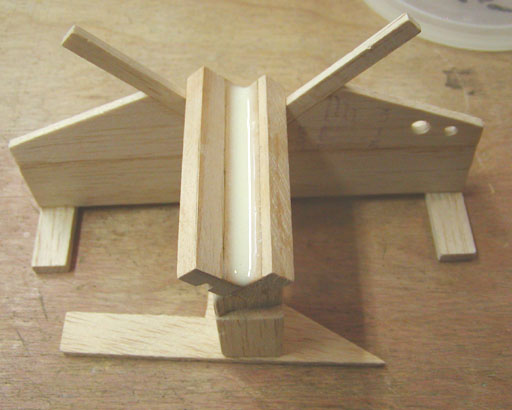
This shows an end view of the epoxy fillet.
Bob's technique worked out well for me using a
straight fillet. The Sailplane's pylon fillet is somewhat curved, which
is more challenging.
********************************************************************
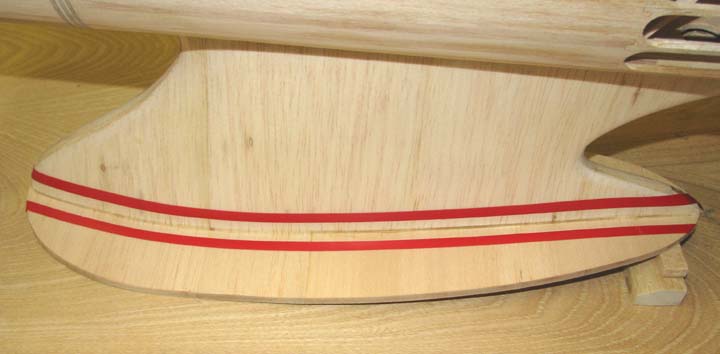
Now on with making the Sailplane pylon's first
epoxy fillet. In order to get a line 1/4" away from the Sailplane's
pylon/wing saddle juncture, I decided to use tape. I had some red
"low-stick" vinyl masking tape that was a 1/4" wide. So I laid a strip of
this tape along the juncture on the bottom of the wing saddle. Then I laid
down a second strip of this tape along the outer edge of the first strip on
bottom of the wing saddle, which places its edge 1/4" away from the wing
juncture.
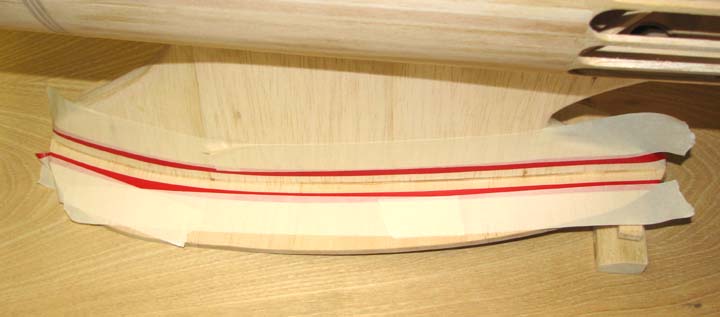
When the first strip of tape was removed, it left
the remaining tape 1/4" away from the juncture as shown below.
I repeated the taping procedure on the pylon
portion of the juncture, which left an exposed area in which to form the
epoxy fillet as shown below.
Regular masking tape was put over the outer edge
of the second strips as shown in the picture below to prevent the epoxy mix
from accidentally getting out onto the wood.
I mixed up a quantity of Z-Poxy and thoroughly
stirred in K&B micro balloons to form a white mixture. The mixture was
dabbed into and along the masked off juncture sparingly, but being careful
to get plenty of mix on each end. I then pulled the rounded balsa strip
down through the epoxied area inside the masking tape. I allowed the surface
of the fillet to smooth out nicely on its own while the epoxy mix was still
relatively "wet". After allowing the mix sit for about two minutes, I pulled
up and removed all of the tape (knowing when to pull the tape is really
a judgment call on the builder's part and will only come with more
experience). Pulling the tape off relatively quickly results in a
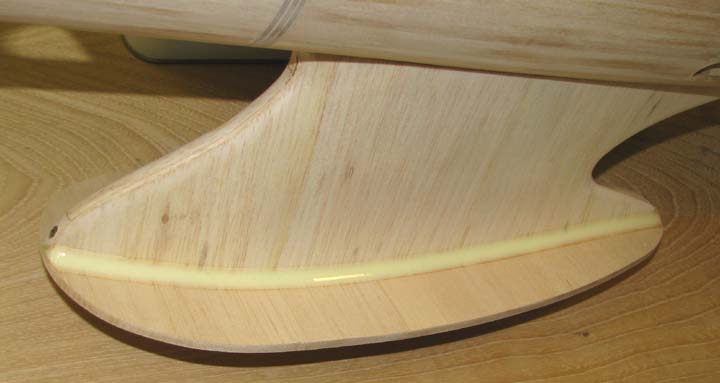
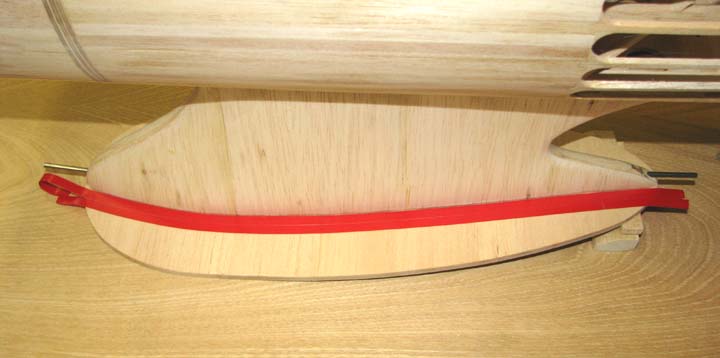
smoother fillet edge. The mirror smooth epoxy fillet on the right side of
the pylon can be seen in its entirety in the picture below. The fuselage is
propped up at a 45 degree roll angle so as to let gravity form the fillet
evenly on both sides.
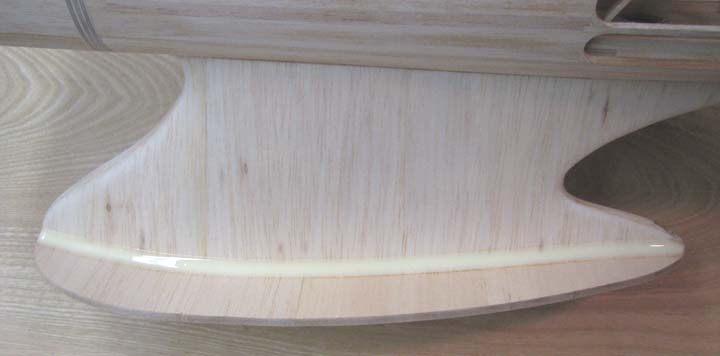
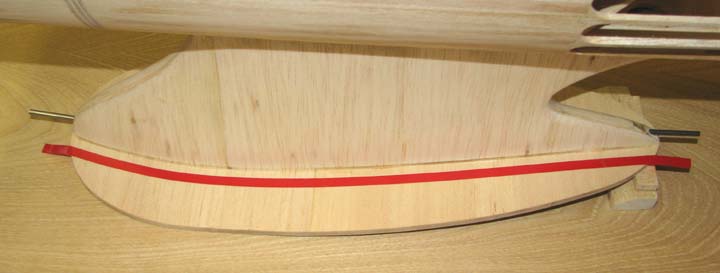
This last picture shows the final results of
the formed pylon/wing saddle epoxy fillet. I will spend several hours over
the next few days making the other three pylon
fillets.................Tandy